Vape Coil Building for Beginners: Getting Started with DIY Coils
21st Feb 2025
Introduction
For many vapers, building their own coils is the ultimate form of customization and control over their vaping experience. DIY coil building allows you to fine-tune your coil's resistance, surface area, and wicking properties to achieve your ideal balance of flavor, vapor production, and performance.
In this beginner-friendly guide, we'll introduce you to the basics of vape coil building, including the benefits of DIY coils, essential tools and materials, and step-by-step instructions for crafting your first coil. By the end of this article, you'll have the knowledge and confidence to start your coil building journey.
As we mentioned in our article onMastering the Art of Choosing the Right Vape Coils, understanding the intricacies of coil design is crucial for achieving optimal vaping performance. Building your own coils takes this understanding to the next level, empowering you to create the perfect coil for your unique preferences.
Benefits of DIY Coil Building

Building your own vape coils offers several advantages over using pre-made coils:
-
Customization: DIY coils allow you to tailor your coil's resistance, surface area, and wicking to your exact preferences, resulting in a more personalized vaping experience.
-
Cost savings: Building your own coils is often more cost-effective in the long run than purchasing pre-made coils, especially if you're a frequent vaper.
-
Improved performance: Custom-built coils can offer better flavor, vapor production, and overall performance compared to mass-produced coils.
-
Increased knowledge: Building your own coils deepens your understanding of how your vape device works and how different coil designs impact your vaping experience.
While DIY coil building may seem intimidating at first, with practice and patience, anyone can learn to craft high-quality coils that rival or surpass pre-made options.
Essential Tools and Materials

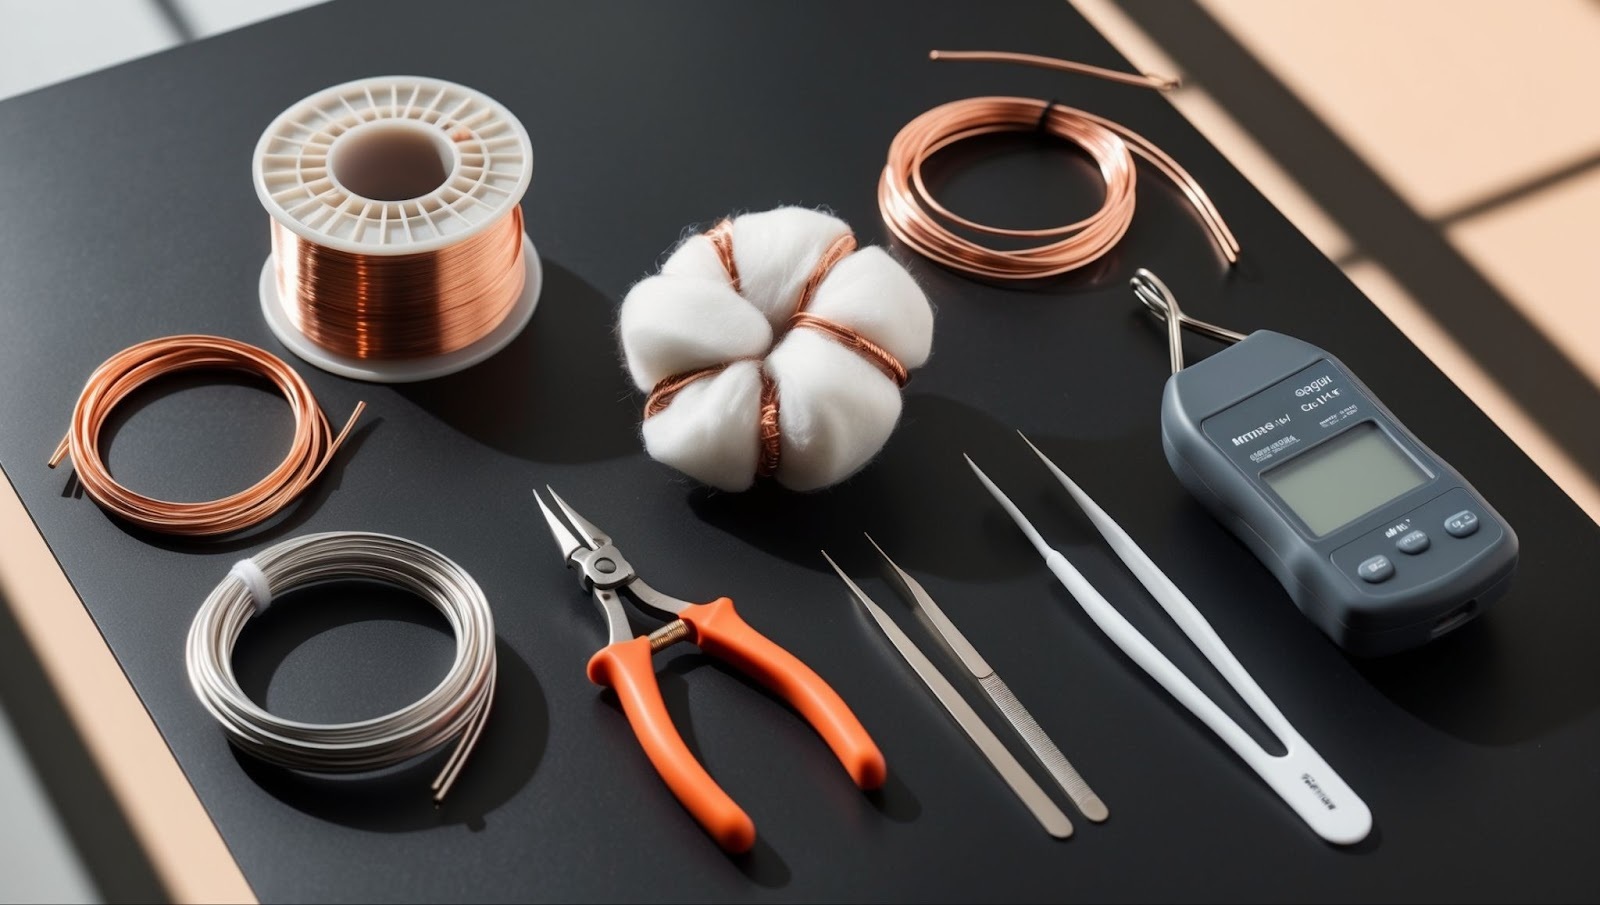
Before you start building your first coil, you'll need to gather the following tools and materials:
-
Resistance wire: Kanthal, Nichrome, or Stainless Steel wire in your desired gauge (thickness).
-
Organic cotton: For wicking your coils. Look for high-quality, unbleached cotton specifically designed for vaping.
-
Wire cutters: For cutting your resistance wire to the appropriate length.
-
Ceramic tweezers: For pinching and shaping your coils without causing shorts.
-
Ohmmeter: For measuring your coil's resistance and ensuring it's within a safe range for your device.
-
Screwdrivers or coil jig: For wrapping your coils around to create a uniform shape and diameter.
-
Scissors: For trimming your wicks to the proper length.
Having the right tools and materials on hand will make your coil building experience more enjoyable and efficient.
Step-by-Step Coil Building Tutorial
Now that you have your tools and materials ready, let's walk through the process of building a simple single-coil build:
-
Cut your resistance wire: Using your wire cutters, cut a length of wire approximately 6 inches long. This will give you plenty of room to work with.
-
Wrap your coil: Using a screwdriver or coil jig, wrap your wire around the shaft to create a coil. The number of wraps will depend on your desired resistance and the gauge of your wire. Aim for a uniform spacing between each wrap.
-
Secure your coil: Carefully remove the coil from the screwdriver or jig, making sure it maintains its shape. Use your ceramic tweezers to pinch the coil together and heat it gently with a lighter or torch to help it hold its shape.
-
Install your coil: Place your coil into your rebuildable atomizer's build deck, securing it with the post screws. Make sure the coil is centered and not touching any other parts of the deck.
-
Test your resistance: Use your ohmmeter to measure your coil's resistance. Ensure that it falls within a safe range for your device and battery.
-
Wick your coil: Cut a strip of organic cotton and thread it through the center of your coil. Trim the ends so that they just touch the base of your build deck. Saturate the wick with e-liquid and you're ready to vape!
Remember, building your own coils takes practice and patience. Don't get discouraged if your first few attempts aren't perfect – with time and experience, you'll be creating top-notch coils in no time.
Conclusion
Building your own vape coils can be a rewarding and enjoyable experience, offering improved performance, customization, and cost savings over pre-made coils. By understanding the basics of coil building and following a step-by-step tutorial, even beginners can start crafting high-quality coils that take their vaping experience to the next level.
As you progress in your coil building journey, don't be afraid to experiment with different wire types, gauges, and coil designs. Each variation can offer unique benefits and drawbacks, allowing you to further fine-tune your vape to your exact preferences.
If you're looking to explore more advanced coil building techniques, check out our article on Building Your Own Coils: A Step-by-Step Guide to Advanced Vaping. With practice and experimentation, you'll soon be crafting complex coils that deliver unparalleled flavor and vapor production.
Happy building!

